Three weeks ago I got this idea to build something new.
The Idea
At PSPDFKit we use Slack a lot. It's in our veins. One of the routines is to check-in whenever one starts work. To do so, we go to the #inout channel and type just in or out lunch etc. Stuff like that. The Slack online status doesn't mean much. Being online doesn't mean I'm at work.
The idea was to build the framed version of the #inout activity. Present all the people and light a lamp to indicate who is online, and who's offline. In other words: Internet Of Things.
Plan
- Build LED matrix
- Close it in the frame
- Connect to Slack
- Switch on the lights
- Power from the battery
Prepare
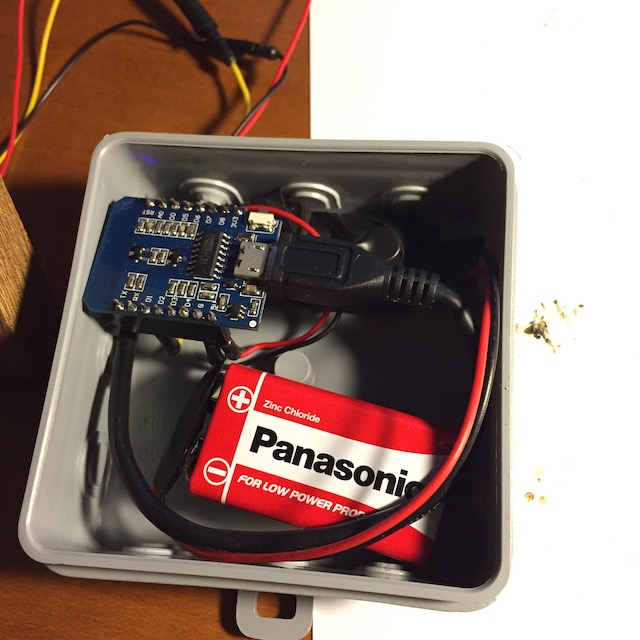
My first thought was to use Raspberry PI, that I already have in the closet. Then I tried Arduino UNO board, but eventually, I ended with the ESP8266 based module that has all I need (small size and integrated WiFi). I bought a clone of WeMos D1 R2 board.
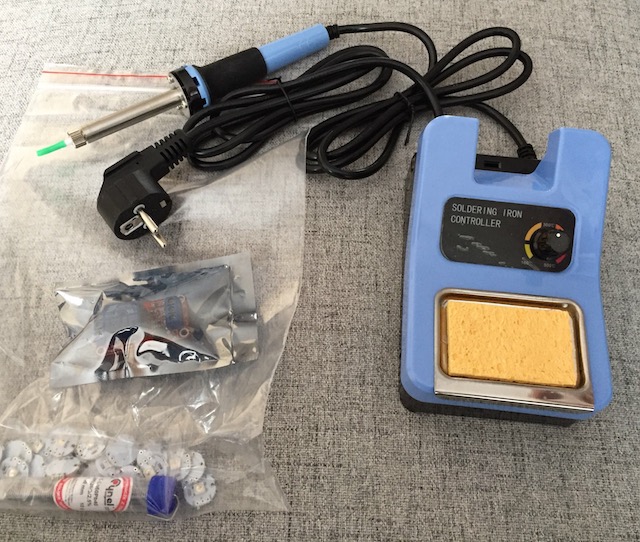
First things first, I bought brand new soldering iron and some LEDs
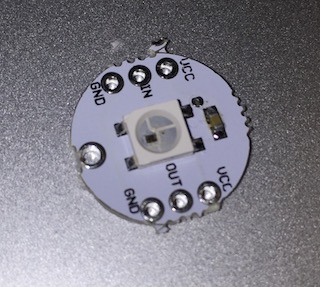
About the LEDs. I want addressable LEDs to make things easier. I decided to go with the WS2812B diode. It's a 5V powered diode, easy to connect and easy to use.
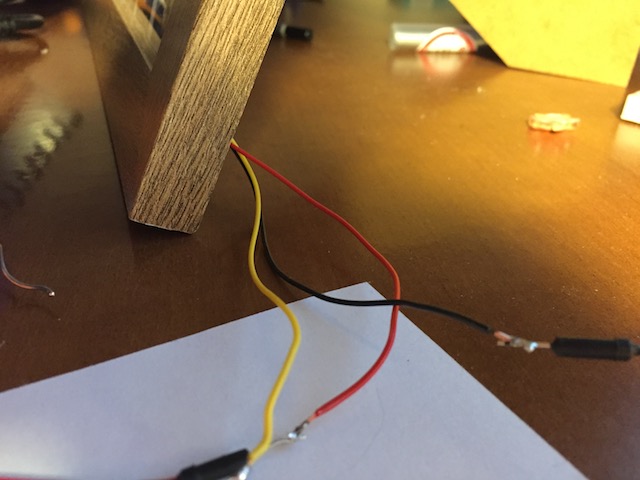
Wires
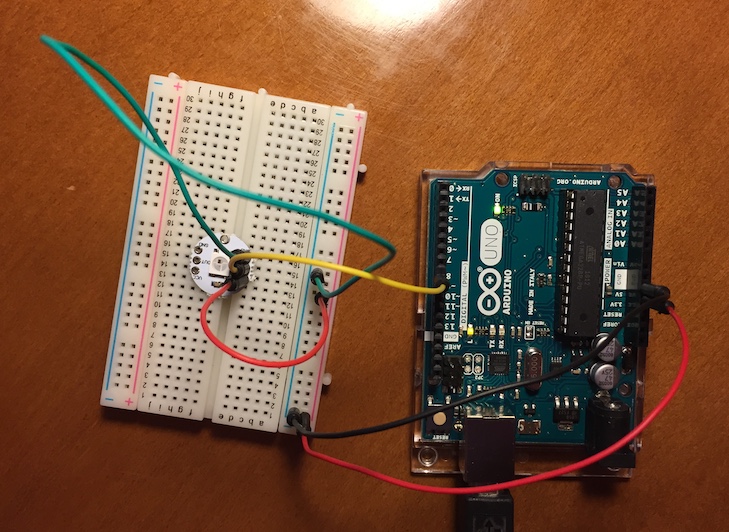
So I started wiring up. First try, if it works on the small scale. Arduino UNO connected to the single LED and powered with the USB from the computer.
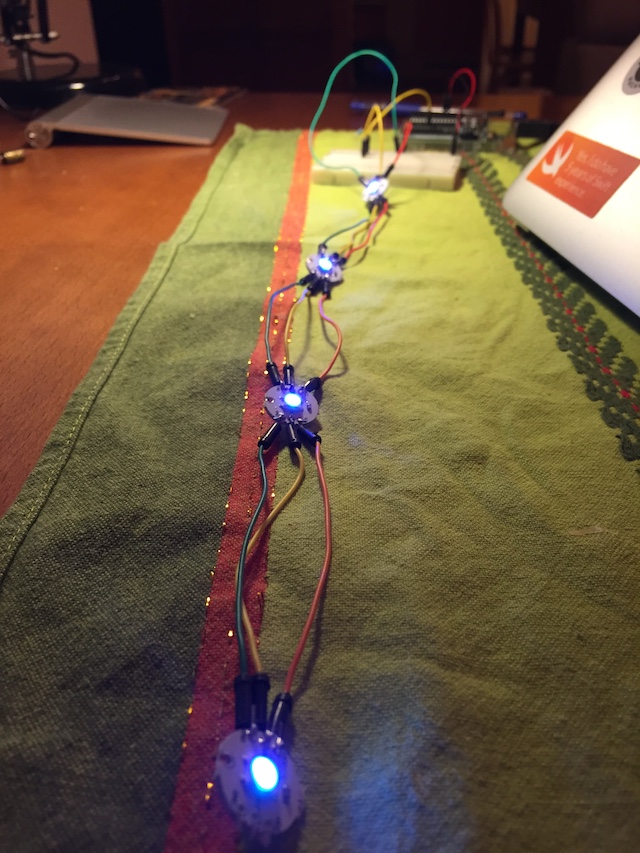
it expanded eventually
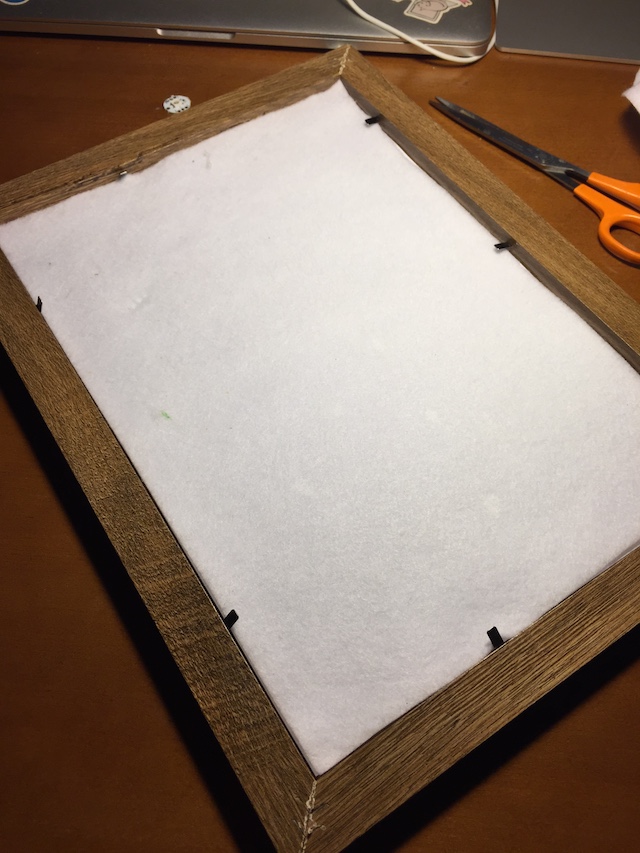
At that point, I went to the local shop to buy the frame. I decided to buy the frame with the regular A4 size
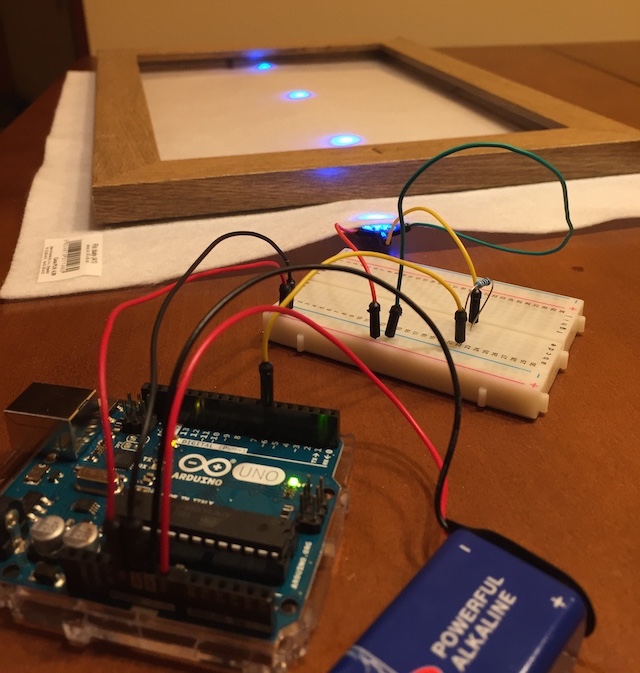
I already have few LEDs connected one to another, and my Arduino UNO board is powered with the single 9V battery.
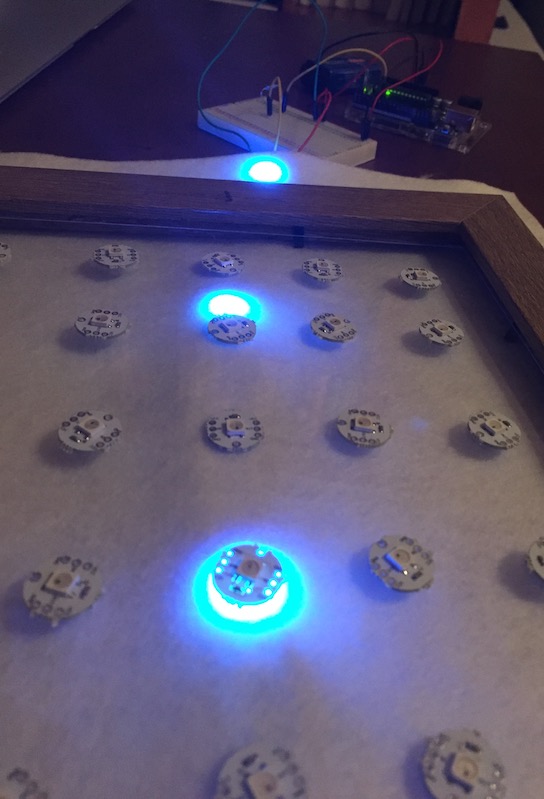
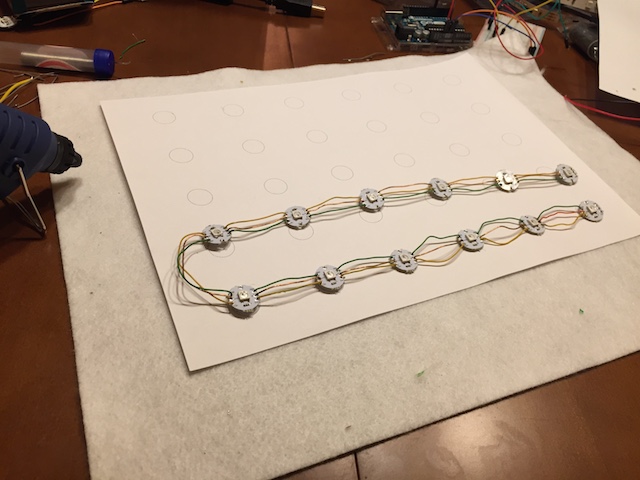
The goal is to connect 30 LEDs together, so I had to start some planning when it comes to the surface. For that, I printed out the circles to mark the place where I want to have to LEDs finally.
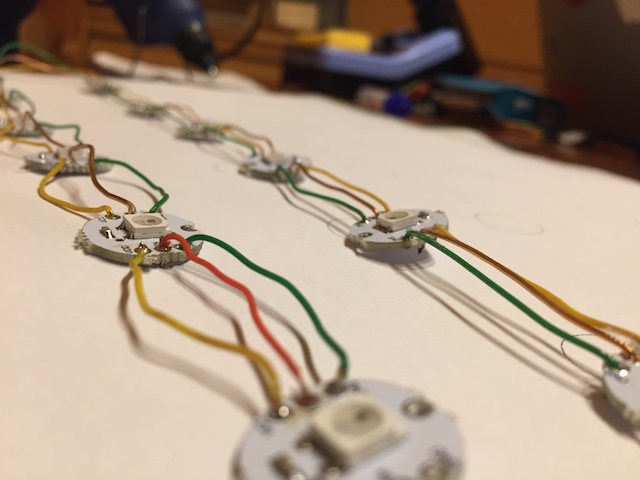
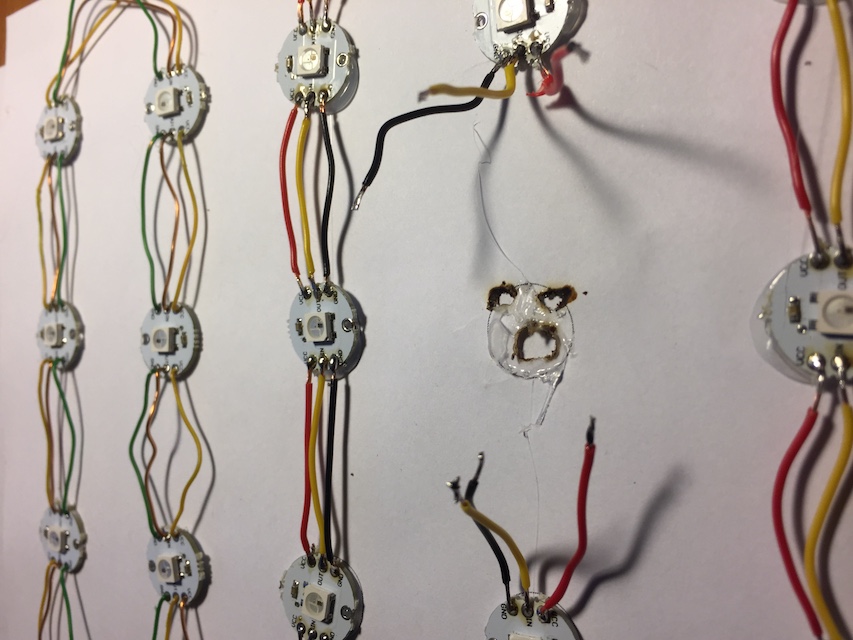
Soldering
Started soldering
You think Swift compilation time is a horror. Try soldering 👨🏭 ⏱
— Marcin Krzyzanowski (@krzyzanowskim) January 28, 2017
after the soldering, I use the silicon glue to attach the LED to the paper sheet
Sometimes I had to debug and fix the circuit
I have a soldering iron, 2 meters cable, and 3rd glass of vine. What would go wrong?
— Marcin Krzyzanowski (@krzyzanowskim) February 10, 2017
It took me three evenings in total, but IT'S WORKING
Final touches
The hardware part was almost done, and I packed the module in the small box
and connected to the frame

OH, the frame has the pictures already. Yes, I printed the avatars of the team. 30 people in total (I must apologize, but it was 30 when I started - Version 2 will cover more faces).
I connected the board to the battery and put it on my desk. Now whenever someone writes in, their face will glow
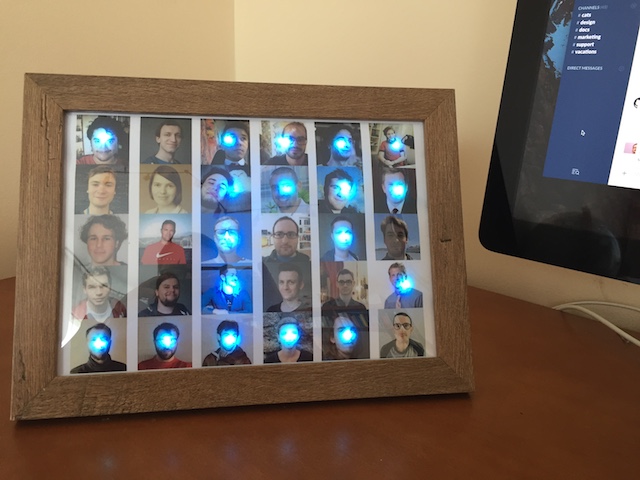
I like the final result.
Software
Hardware is one thing, the other part is software. The ESP8266 module is easily programmed with the Arduino IDE - this is a huge. The IDE lack the proper editor, but the suit works in general. Basic tasks like write code, build and upload is one click away.
The Arduino language to program the chip is C++ (C++11), which I don't know, but my general sense and C knowledge was enough to build the code that
- Connect to the WiFi
- Connect to the Slack
- Parse Slack JSON
- Turn on the lights
One of the obstacle when programming such a devices is limited resources. Like... I have few kilobytes of free memory to perform SSL connection, and to parse JSON.
Challenge: run out of heap when parsing JSON. damn it.
— Marcin Krzyzanowski (@krzyzanowskim) February 13, 2017
At some point, I had to resign from the clever mapping users just because that took to much memory to store the std::map instance with the values. And I already have to parse JSON with an event-driven parser, because String is too big to store it and parse otherwise.
But eventually, the software is working; I'm testing it for the second day, today. I'm surprised how handy this is. But above all, I'm happy I was able to build it at all.
Ave me.